After a few trials and errors, I finally got Octoprint to work with a Polarbot (vertical drawing machine)
It wasn't that hard because the brain of the polarbot use Repetier firmware (with some modifications)
For this to work, I had to change two things in repetier and penplotter (the provided host software) so they doesn't use M0 Gcode anymore (that's only after I realized there is an option in OP to bypass this GCode)
After some preferences tuning (I don't need temperature control, GCode view is messy, etc...) here I am !
I still need to fine-tune all the process to get the GCode, right now I have to :
Optionnally, use Gimp or Photshop to split an image into severa B&W images representing the main colors
Use Drawbot2Gcode to convert bitmaps to SVG (the generated GCode is not properly dimensionned)
Use Inkscape to tune the SVG, combine colors, add text, etc...
Use Penplotter to convert the SVG into a proper GCode file
Send it/them to OP
For multicolor drawings, I use a 4 ou 10 colors pen and just switch color after each "layer"
So, it's not the first time but I want to thank again @foosel for Octoprint, not only it work like a charm with (most of) 3D Printers, but it's still flexible enough to work with some other type of machine.
Next challenge : try to use it to control a CNC-mill ;D
OK I understand now why I don't see it sooner
Maybe I'll revert back the change to the firmware then (it reminds me that I need to install firmware-update plugin !)
That is so cool! I had a student challenging me to do this perhaps two weeks ago and I suggested that it could be done on the whiteboard with markers. You beat me to it.
I'm sure that Photoshop can break an image into its component colors, usually CMYK (cyan, magenta, yellow and black). That's what print shops would do when they send the job, say, for a silkscreened t-shirt perhaps. The jobs would print separately so it sounds like what you're trying for.
That's exactly what I've done, I used an old paper board (legs was broken) and convert it to a polarbot
I printed all the parts from here except the motors holder witch I designed myself to better suit my needs and make them stronger
Actually, I don't try by splitting the CMYK but I will !
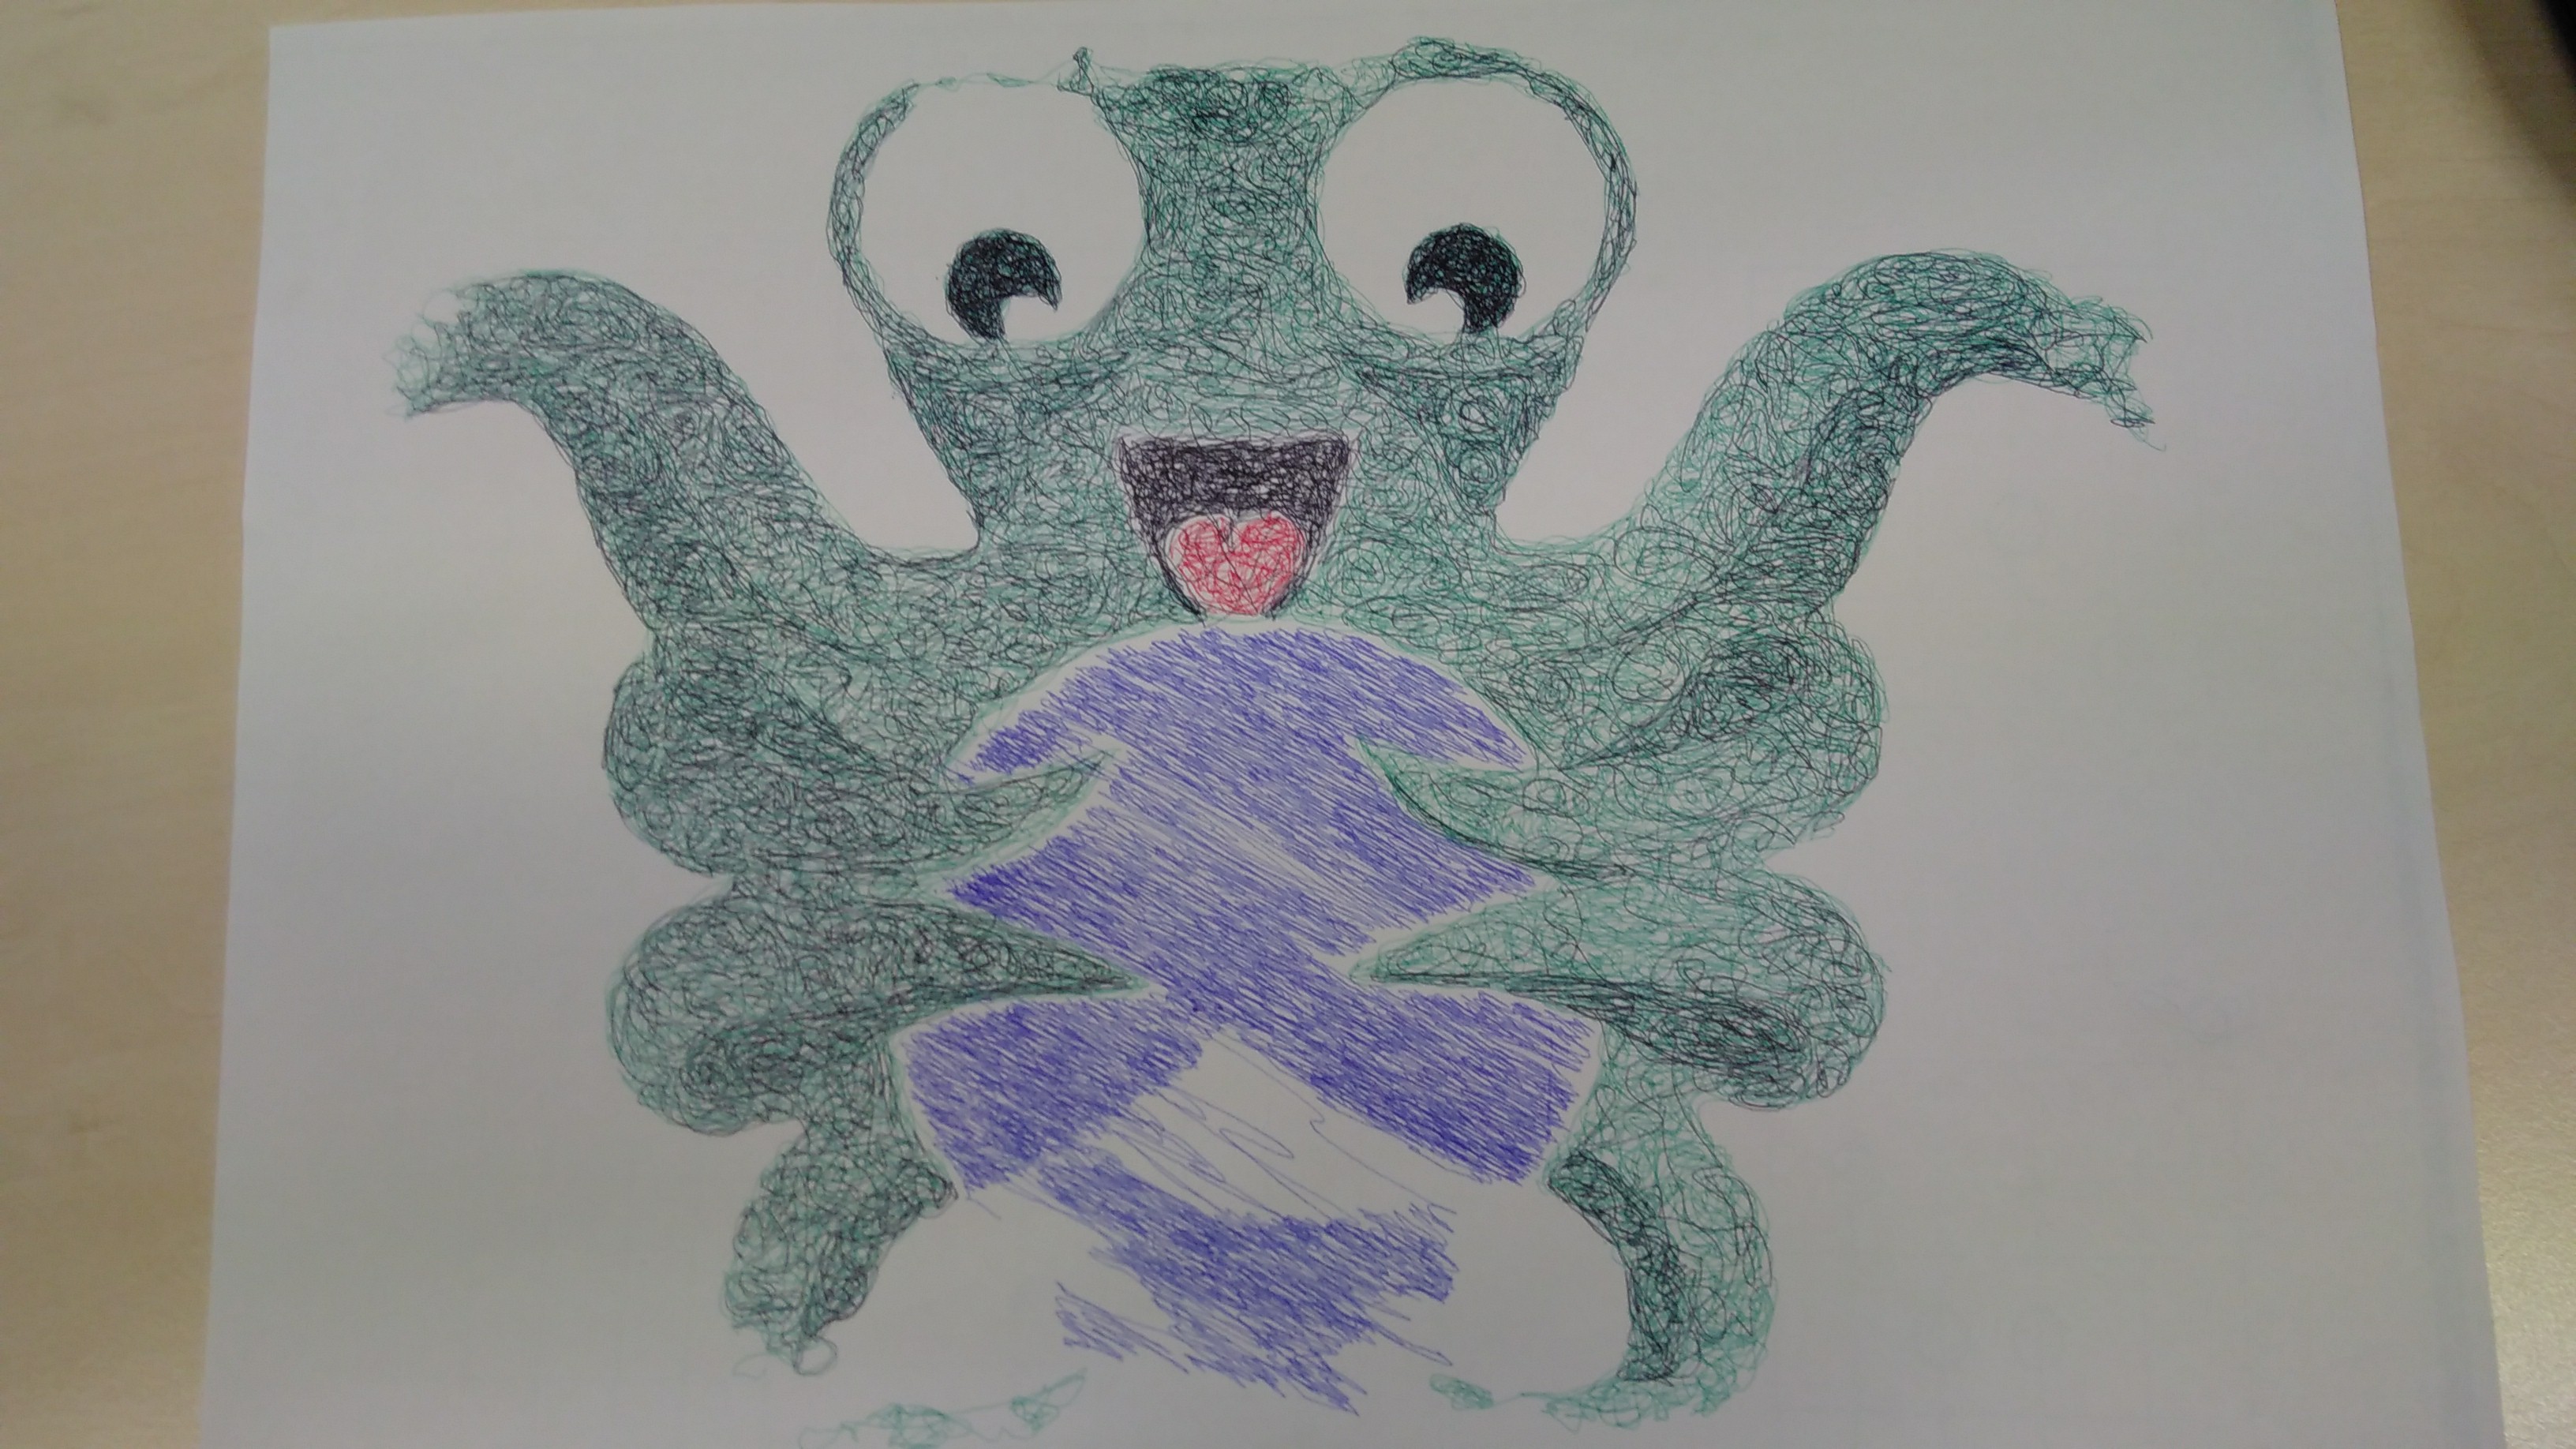
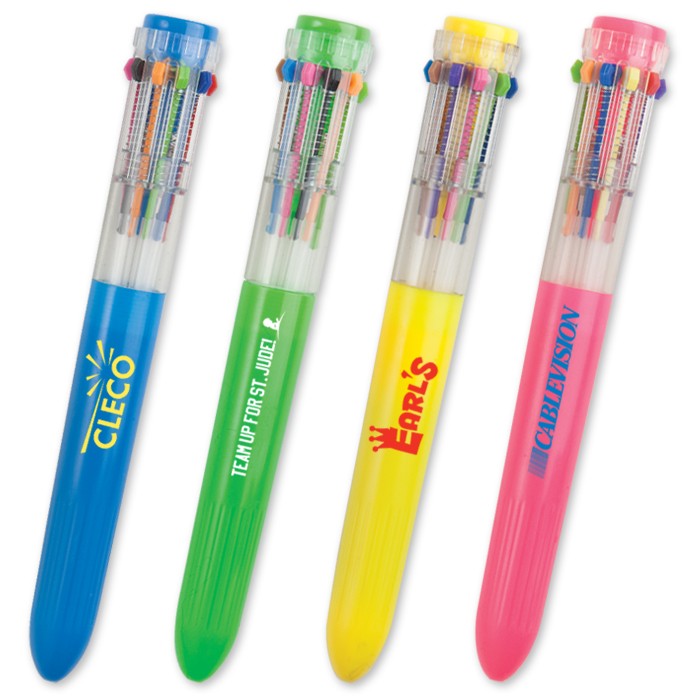
For now, I split the main colors. Example : if I want to draw a Son-goku I would split the orange, blue, black and maybe yellow for the skin (but it would be weird), then I use a pen like this one (witch has all the mentionned colors, really usefull), and voila
I tried already, unfortunately the pen ran out of black ink in the middle of the drawing
If you have a colorful box of a product somewhere, take a close look at it. I'll bet there are four registration circles somewhere on it (usually on the tabs inside the end) or maybe a single circle with four sections. Those registration color circles help them make sure that everything is aligned properly when printing a batch of boxes.
You could actually create that as part of your drawing, a four-part circle like that. You could put it at the very top or the very bottom and print that as the first of each layer. Then, if you start printing the cyan part and it's totally outside of where it's supposed to be, you can stop that layer, adjust and start again.
Actually, I do something interesting with my GetToDahChoppa program which breaks one job into many. In this way, you'd print the cyan and the job would be done. You'd then change colors, print the magenta and that job would be done, etc. If the first part (printing the registration circle is off) you could abort that print job, fix things and restart that job. Hopefully that made sense.
Actually, I did something almost similar : I made a mark outside the paper, where the gondola should be "homed" and that's all I need to precisely align the layers (it all depends on how much coffee I drink before, TBH)
Maybe later I will add endstops or something, and allow the polarbot to home itself, this would be a neat addition
BTW, Great tool you've done here, I'll keep a look at it later


